SCM settings
Supply chain Monitoring - configuring settings
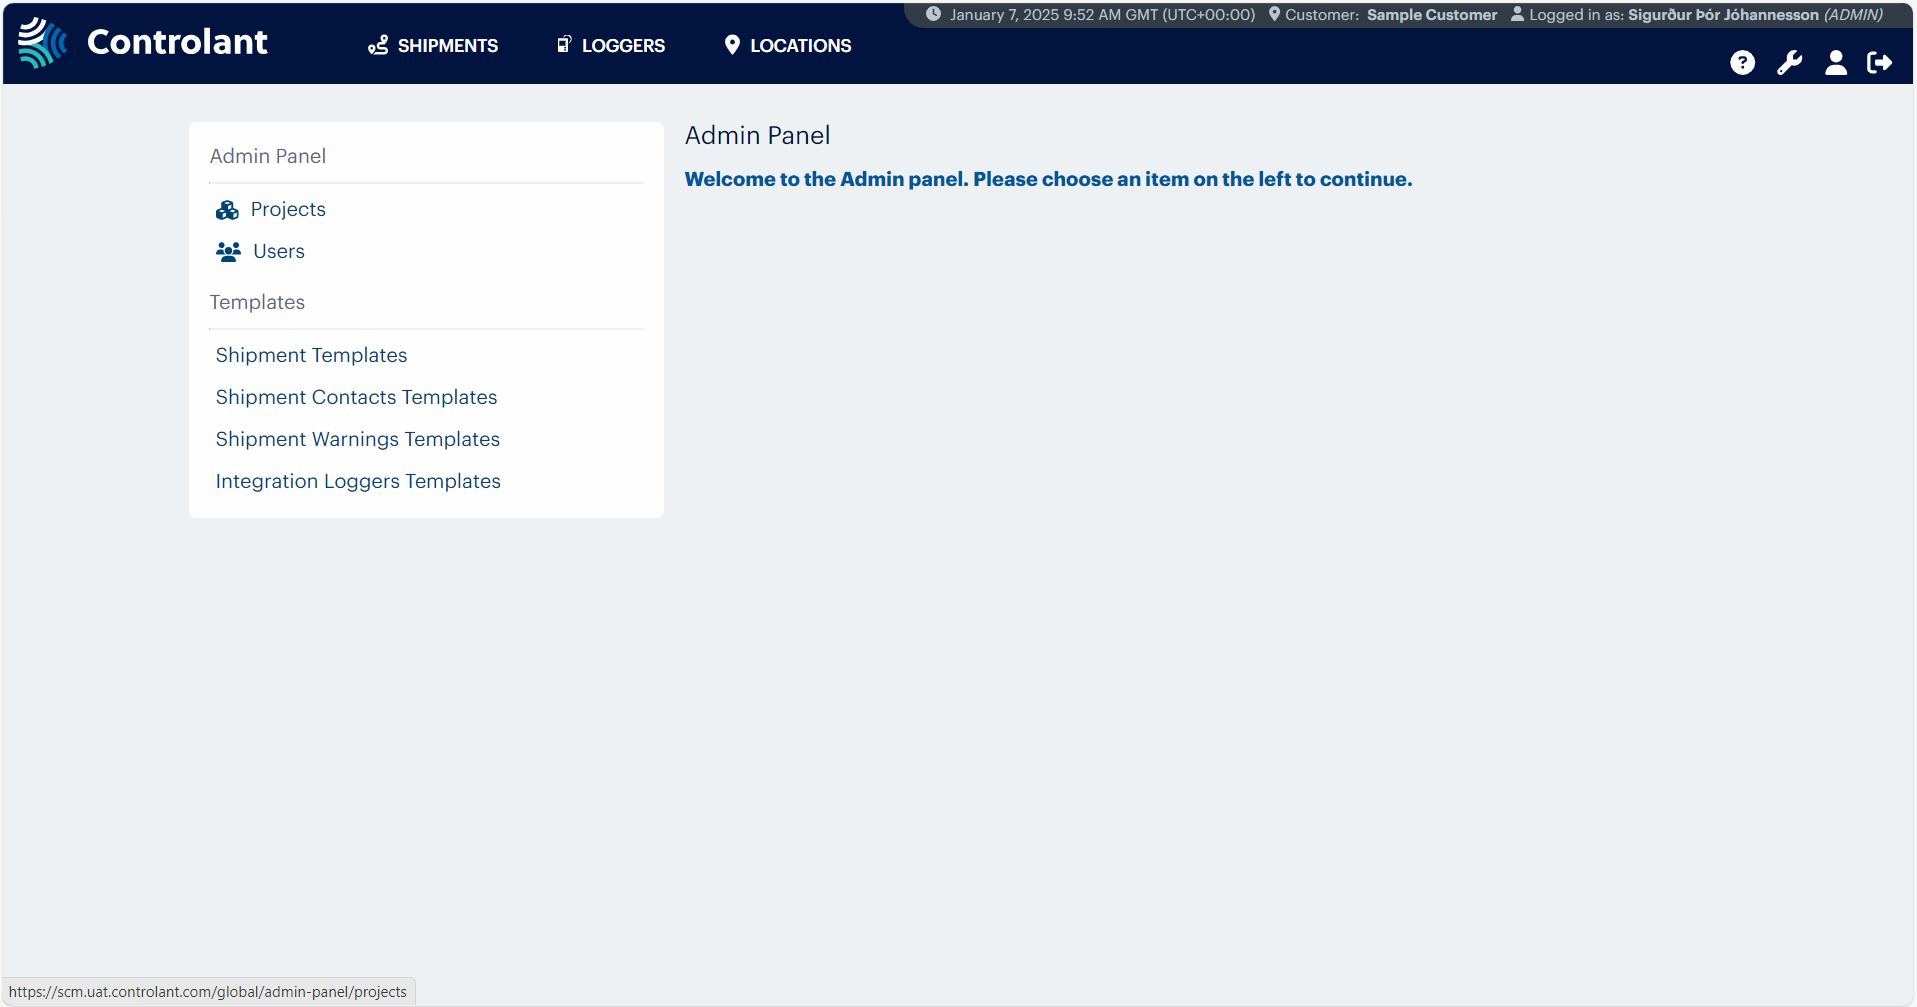
Admin users can use the Admin Panel to configure Supply Chain Monitoring; manage projects, users, and templates.
To access the Admin Panel, in the header, click  .
.
In the Projects view, admin users can do the following:
create new projects
modify existing projects
disable projects
reactivate disabled projects
change user permissions for projects
In the toolbar on any page in Supply Chain Monitoring, click
 .
.The Admin Panel appears.

To open the Projects page, click Projects.
The Projects page appears.
To create a new project, click + Create a new project.

The Create project area appears.
In the Project name box, type the name for the project.
If you want to include a project reference, in the Project reference box, type the reference for the project.
If you want to include a project description, in the Description box, type the description for the project.
If you want to grant yourself access to this project, check Grant yourself access to this project.
Click + Create Project.

The Projects page appears, with the new project in the list of Active Projects.
If necessary, in the toolbar on any page in Supply Chain Monitoring, click
 .
.The Admin Panel appears.

To open the Projects page, click Projects.
The Projects page appears.
To modify a project, in the Active Projects list, locate the project you want to modify and click
 .
.The edit project area appears.
To modify the project, do one or more of the following:
If you want to modify the project reference, in the Project name box, type the new name for the project.
If you want to modify the project reference, in the Project reference box, type the new reference for the project.
If you want to modify the project description, in the Description box, type the new description for the project.
Click + Save.

The Projects page appears.
If necessary, in the toolbar on any page in Supply Chain Monitoring, click
 .
.The Admin Panel appears.

To open the Projects page, click Projects.
The Projects page appears, showing a list of active projects.
To change user permissions for a project, in the Active Projects list, locate the project you want to modify and click
 .
.The user permission area appears.
If you want to grant one or more users access, in the USERS WITH NO ACCESS list, do the following:
Click a user, or CTRL+click to select multiple users.
Click
 .
.The selected user is moved to the PERMITTED USERS list.
If you want to remove access from one or more users, in the PERMITTED USERS list, do the following:
Click a user, or CTRL+click to select multiple users.
Click
 .
.The selected user is moved to the USERS WITH NO ACCESS list.
Click
 .
.The Projects page appears, showing a list of active projects.
If necessary, in the toolbar on any page in Supply Chain Monitoring, click
 .
.The Admin Panel appears.

To open the Projects page, click Projects.
The Projects page appears, showing a list of active projects.
If you want to disable a project, in the Active Projects list, do the following:
Locate the project you want to disable and click
 .
.A confirmation window appears.
Click OK.
The Projects page appears; the disabled project is removed from the Active Projects list.
If you want to enable a project, do the following:
To view the list of disabled projects, click + Show Disabled Projects.

The Disabled Projects list appears.
Locate the project you want to enable and click
 .
.The Projects page appears; the enabled project is now in the Active Projects list.
In the User Management view, users with Admin access can do the following:
create new users
modify existing users
reset passwords for users
modify access level of users
disable and activate users
SCM has the following types of user roles:
Access: Normal users have read-only access to all global shipments, loggers, and global locations. This means they can only view shipments, loggers, locations, projects, project shipments, and project locations to which they have access.
Projects: For specific projects, user must be granted access.
Access: Elevated users have read and write access to all global shipments, loggers, and global locations. This means they can view, edit, and create shipments, locations, projects, project shipments, and project locations to which they have access.
Projects: For specific projects, user must be granted access.
Access: Admin users have read and write access to everything. This means they can view, edit, and create shipments, locations, projects, project shipments, and project locations without restriction.
Projects: Admins can freely create any project-related item.
In the toolbar on any page in Supply Chain Monitoring, click
 .
.The Admin Panel appears.

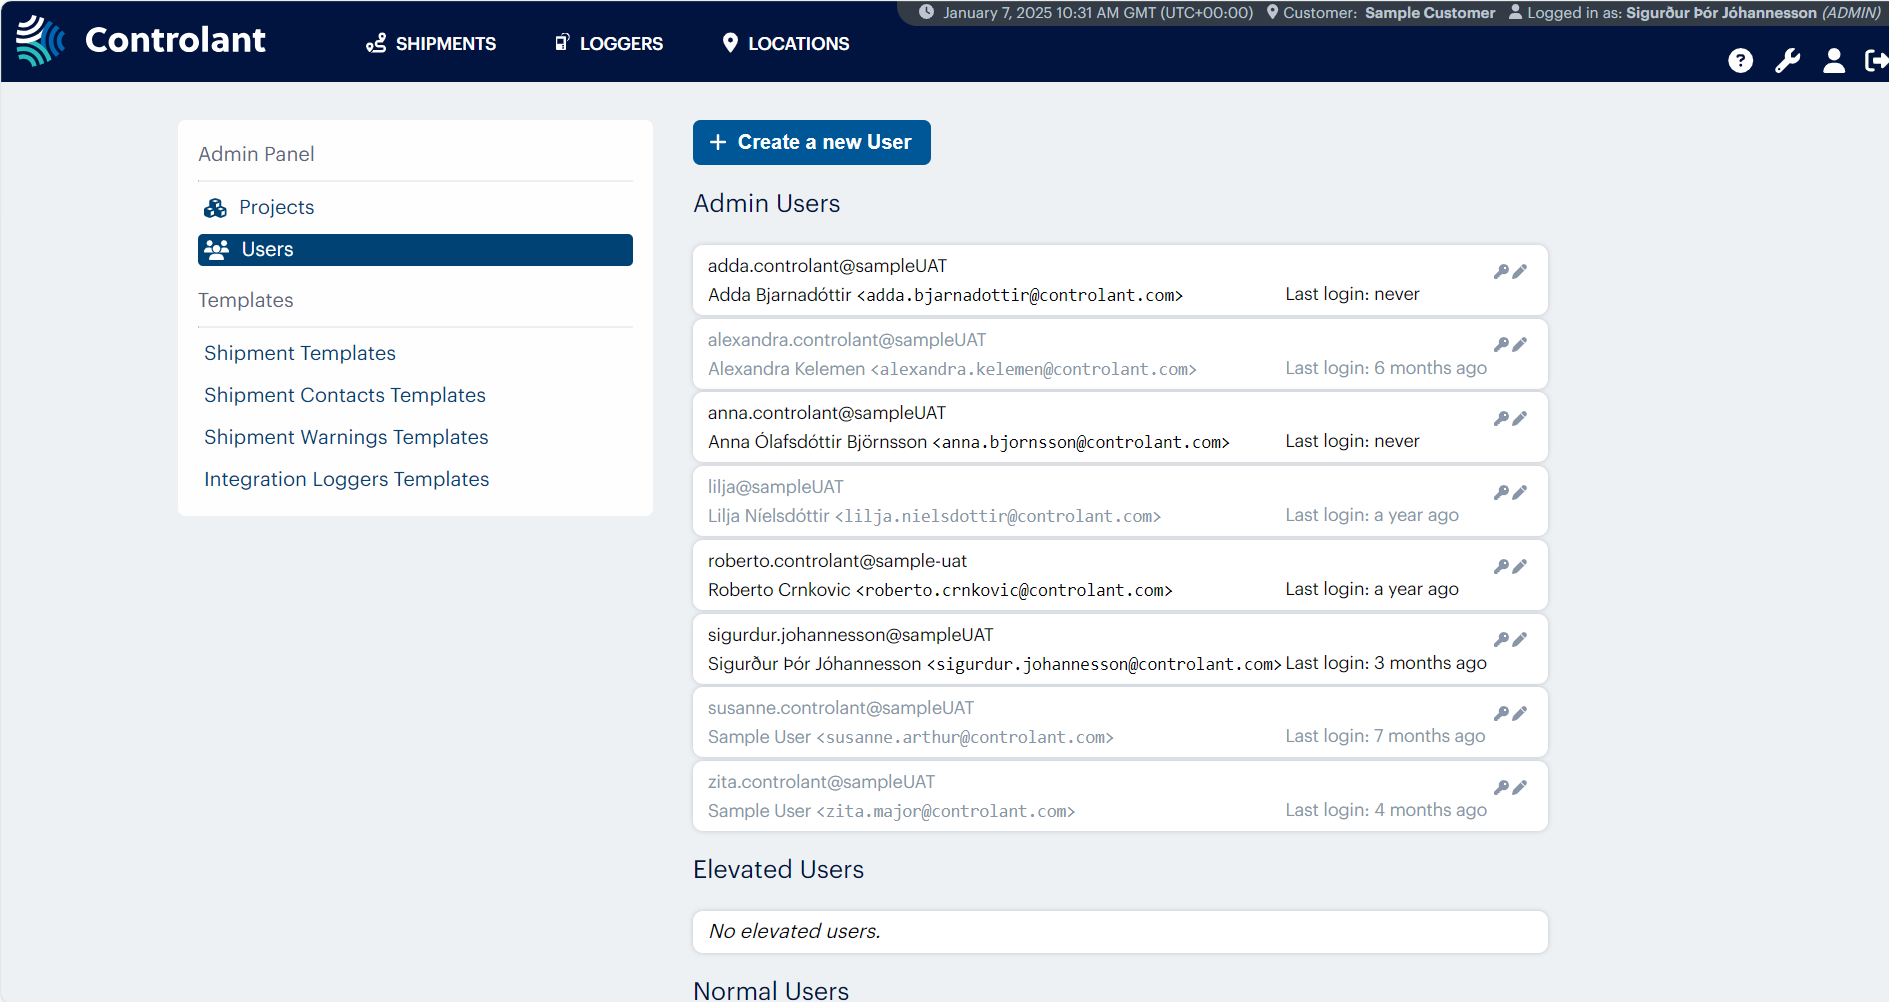
To open the the Users Management page, in the Admin Panel menu, click Users.
The Users page appears.

To modify a user, in the users list, locate the user you want to modify and click
 .
.The edit user area appears.
To modify the user, in the edit user area, do one or more of the following:
You cannot modify the username.
If you want to modify the first name, in the First name box, type the first name.
If you want to modify the last name, in the Last name box, type the last name.
If you want to modify the email, in the E-mail box, type the email.
If you want to modify the mobile phone number, in the Mobile number box, do the following:
Click the drop-down to select the country and the country code.
In the mobile number box, type the mobile phone number.
If you want to modify the the access level of the user, in the Access level drop-down list, select one of the following:
NORMAL
ELEVATED
ADMIN
Tip
For more about user access level, see User account types.
If you want to modify the status of the user, in the Status drop-down list, select one of the following:
ACTIVE
DISABLED
To save your changes to the user, click + Save.

The user information is modified.
In the toolbar on any page in Supply Chain Monitoring, click
 .
.The Admin Panel appears.

To open the the Users Management page, in the Admin Panel menu, click Users.
The Users page appears.

To create a new user, click Create a new User.

The Create a new User area appears.
To configure the user, in the Create a new User area, do the following:
In the Username box, type the username.
In the First name box, type the first name.
In the Last name box, type the last name.
In the E-mail box, type the email address.
If you want to include the user's mobile number, in the Mobile number box, do the following:
Click the drop-down to select the country and the country code.
In the mobile number box, type the mobile phone number.
To configure the access level to grant the user, in the Access level drop-down list, select one of the following:
NORMAL
ELEVATED
ADMIN
Tip
To configure the status of the user, in the Status drop-down list, select one of the following:
ACTIVE
DISABLED
To create the user, click + Create User.

The user is created and appears in the applicable list below.
Note
This step is not required if you use Single sign-on to log in.
In the toolbar on any page in Supply Chain Monitoring, click
 .
.The Admin Panel appears.

To open the the Users Management page, in the Admin Panel menu, click Users.
The Users page appears.

In the users list, locate the user you want to modify and click
 .
.The edit user area appears.

To reset the user's password and send the user an email containing a link they can use to set a new password, click Reset Password.

The user's password is reset.
In the toolbar on any page in Supply Chain Monitoring, click
 .
.The Admin Panel appears.

To open the the Users Management page, in the Admin Panel menu, click Users.
The Users page appears.

To modify a user, in the users list, locate the user you want to modify and click
 .
.The edit user area appears.
To modify the status of the user, in the Status drop-down list, select one of the following:
ACTIVE
DISABLED
To save your changes to the user, click + Save.

The user information is modified.
In the Admin panel, Admin users can create new templates and modify or delete existing templates.
Templates can make the shipment creation process faster and easier. They can be created globally or within projects.
These are the following templates available to the Admin users:
Shipment templates
Shipment templates are helpful when creating whole shipments that include contacts and warnings.
Shipment Contacts templates
Admin users can create shipment contacts templates, which allow them to create a template of users for shipments.
Shipment Warning templates
The warning templates enable Admin users to set upper and lower boundaries for shipment warnings.
Integration loggers templates
The integration logger template is created by Integration API and visible in the SCM user interface (UI). They can only be used when creating shipments via integration and not when manually creating shipments in the SCM UI. The template is displayed in the SCM UI for maintenance and validation purposes only.
For more information about the Account admin interface, see Account admin.
In the toolbar on any page in Supply Chain Monitoring, click  .
.
The Admin Panel appears.
