Account admin
In this section:
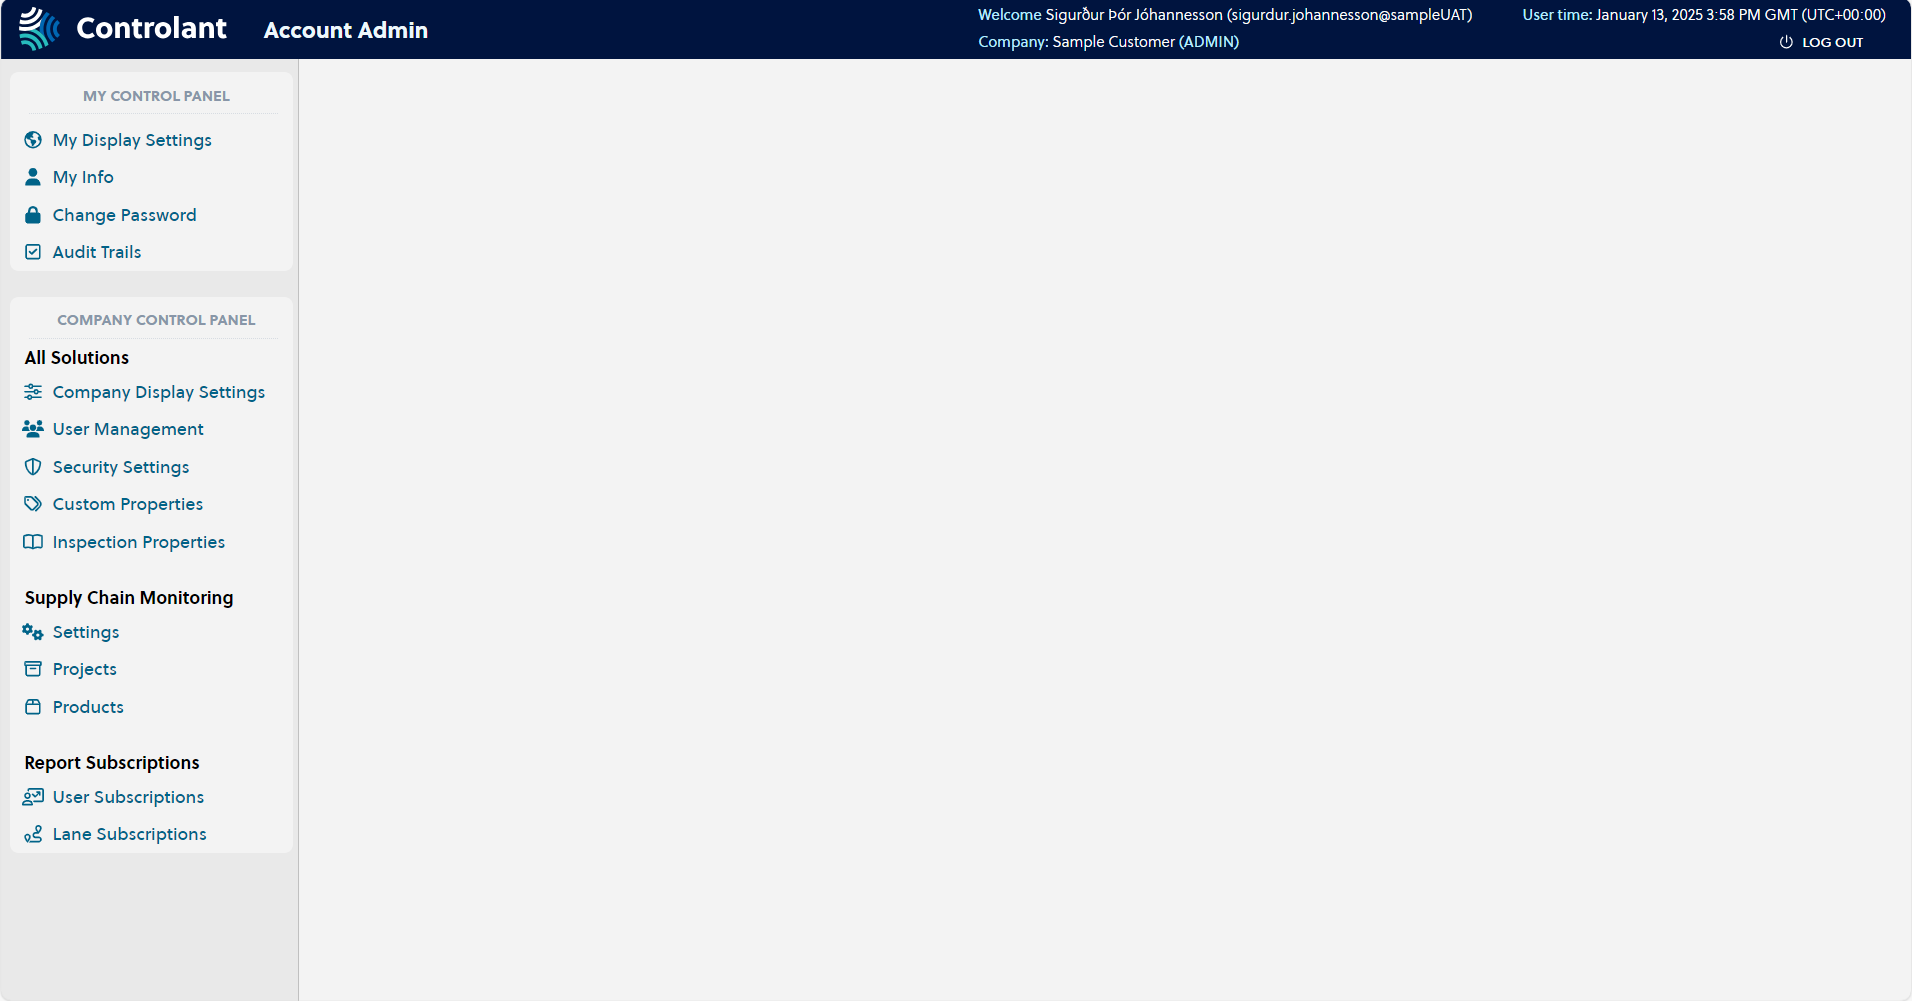
You can use Account Admin to do the following:
configure your User settings
view your Audit Trails
Users with Administrator permissions can also do the following:
configure Account Settings:
add and remove users in User Management
configure custom properties and inspection properties in Shipment Properties
create and modify Projects
create and modify Products
add and remove User Subscriptions
add and remove Lane Subscriptions
manage User Access
manage Role Access
To open the Account Admin, in a browser, navigate to account.controlant.com.