Assembling the Saga Device Box
Follow these instructions to prepare the Saga Device Box for use.
To start, pop the box open and put it on a clean, flat surface. You will see two open sides: one has three flaps, and the other has four flaps. Position the box with the back (adhesive) panel facing up and the opening with the four flaps towards you.
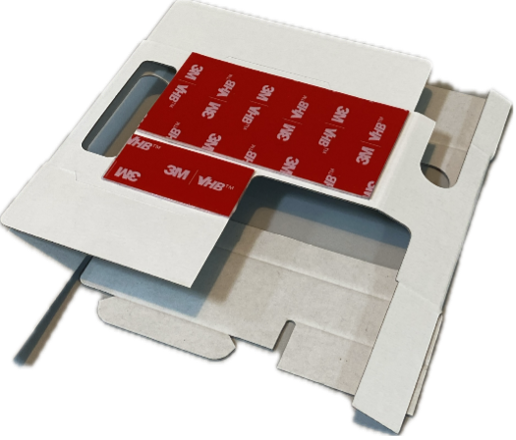
Fold in the side flaps on the opening closer to you.
Fold down the large flap of the back panel. Notice the cutout appearing on the edge of the back panel.
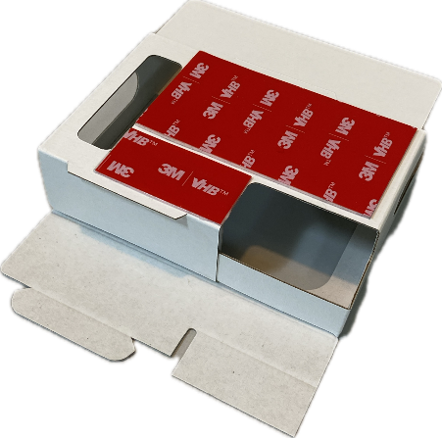
While keeping the side flap in place, fold up the large flap of the front panel while tucking the ridge into the cutout.
Finish folding this side by folding the strengthening flap toward the center of the box.
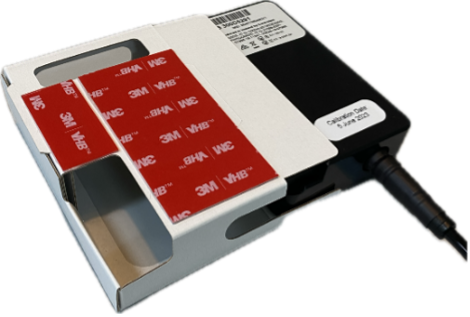
Open up the three flaps on the other side and slide in the Saga device. The barcode on the back of the device should align with the cutout on the back of the box.
Fold the side flaps inward, then close the box by folding the lid and tucking the last flap in.
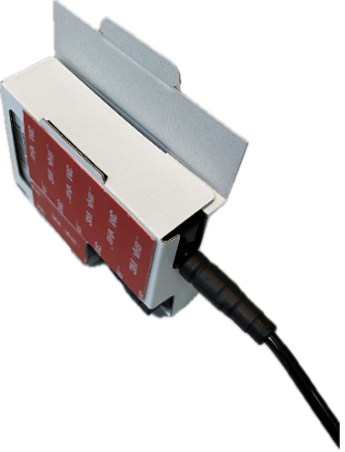
Check the device alignment: the USB connector, the display, the start and stop buttons, and the barcode should be visible in the folded box. Note how the probe connector of the Saga-P device slides into the oval cutout. Placing a Saga device into the box leaves the oval cutout empty.